Hidden master DNS using Server Core
Pre-install information
"Hidden master" is the type of installation to describe a DNS configuration where the master DNS server is protected from external attacks.
This configuration is quite a bit different from the standard configuration and registration process and can often confuse some inexperienced DNS administrators.
A hidden master is a DNS server placed typically behind a firewall, although my setup below it was placed in the public facing DMZ with no ACL or NAT rules. This server is not listed with the registrar or the root DNS servers nor is it listed in the zone. This server is the primary authoritative server which means it contains a complete zone file for any domains stored in its configuration files. This master is configured so that only one or two other servers can reach it.
Protected in this fashion, the domain's authoritative DNS server is not immune to attack but because it is not publicly listed, more likely this server will not be attacked directly from the internet.
To reiterate, the oddity in this setup is that the primary authoritative server is not registered in the DNS zone nor does it have a publically listed IP address. Rather, the secondary servers are listed. In this way, the secondary servers are available for resolution, but if/when they are attacked, the damage done is limited.
#1. Deploy your virtual machines
I decided to use Microsoft Windows Server 2019 operating system using the VMware ESXi 6.5 hypervisor. I am going to assume you know how to setup a virtual machine from scratch or deploy from a templte. This step will not be covered.
I setup three VMs, a single 2019 Server with Desktop Experience that will be the "hidden master" and two server core installations that will act as read-only secondaries. These two will handle DNS requests from the public. The master will not interact with public users thus being hidden.
Core edition login screen shown above.
#2. Configure virtual machines
Configuration of my virutal machines consist of server name, IP and windows update configuration.
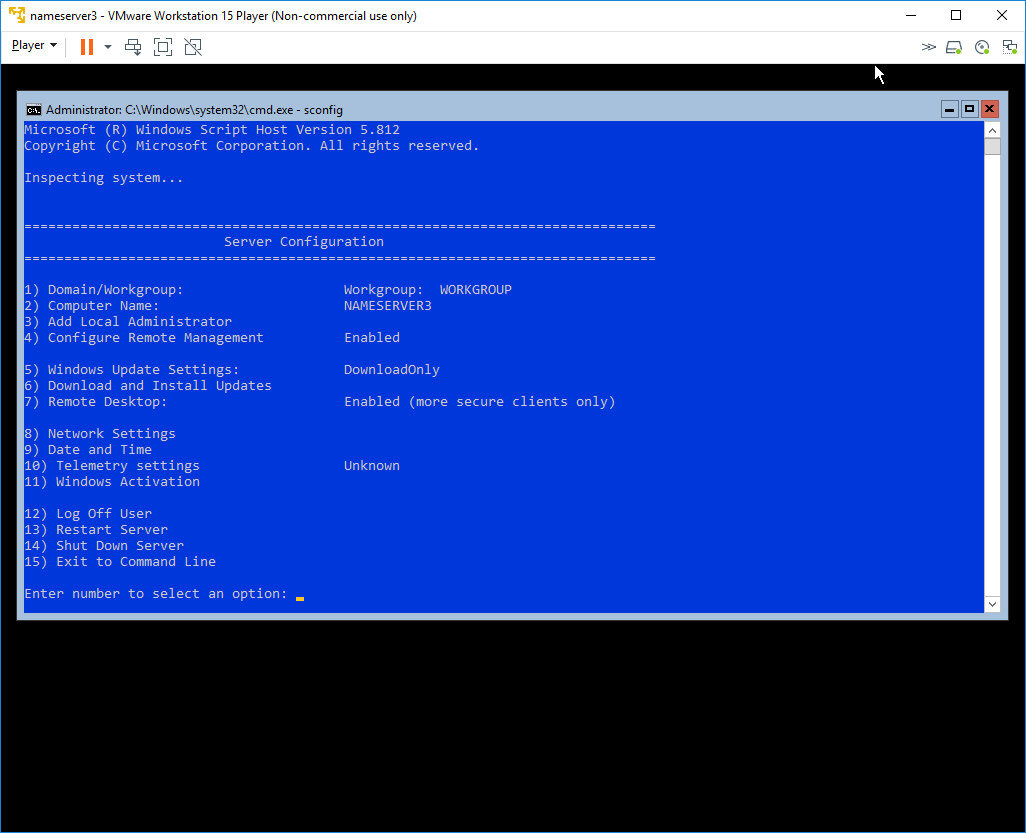
Above is the "sconfig" utility included with Windows Server, this utility is especially helpful for Core installations if you do not know all the needed CLI/PowerShell.
You can work through the sconfig screen one step at a time, rebooting as necessary. These machines are hosted in my DMZ and not the internal network so I leave them in their own workgroup on step 1.
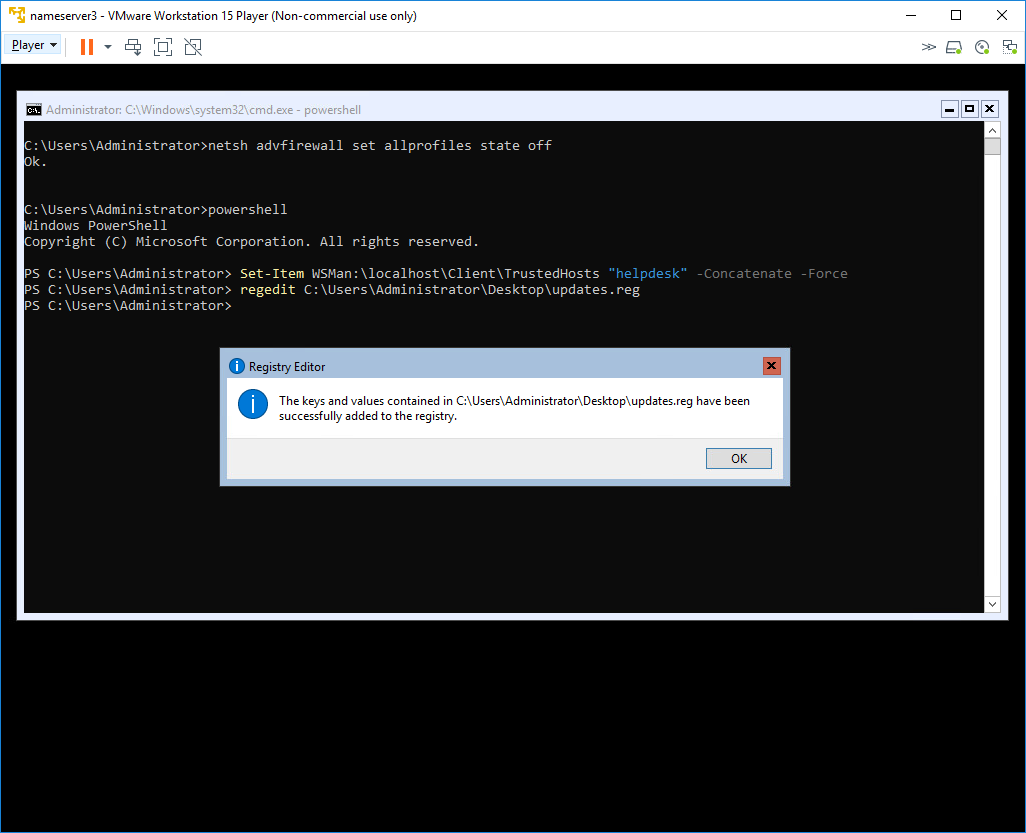
I have a .reg file that gets applied to my DMZ servers to point them to my internal Windows Update server, internal servers are controlled by Group Policy and do not need this treament. You can use regedit and either modify the registry like on a full GUI based server or you can use it to import the settings without interaction which is shown below.
regedit c:\users\administrator\desktop\updates.reg
Also applied above was the powershell cmdlet to allow my machine to remotely administrer the servers, this was needed on each server:
Set-Item wsman:\localhost\Client\TrustedHosts machinename -Concatenate -Force
To make accessing the servers easier I also disabled the Windows Defender Advanced Firewall:
netsh advfirewall set allprofiles state off
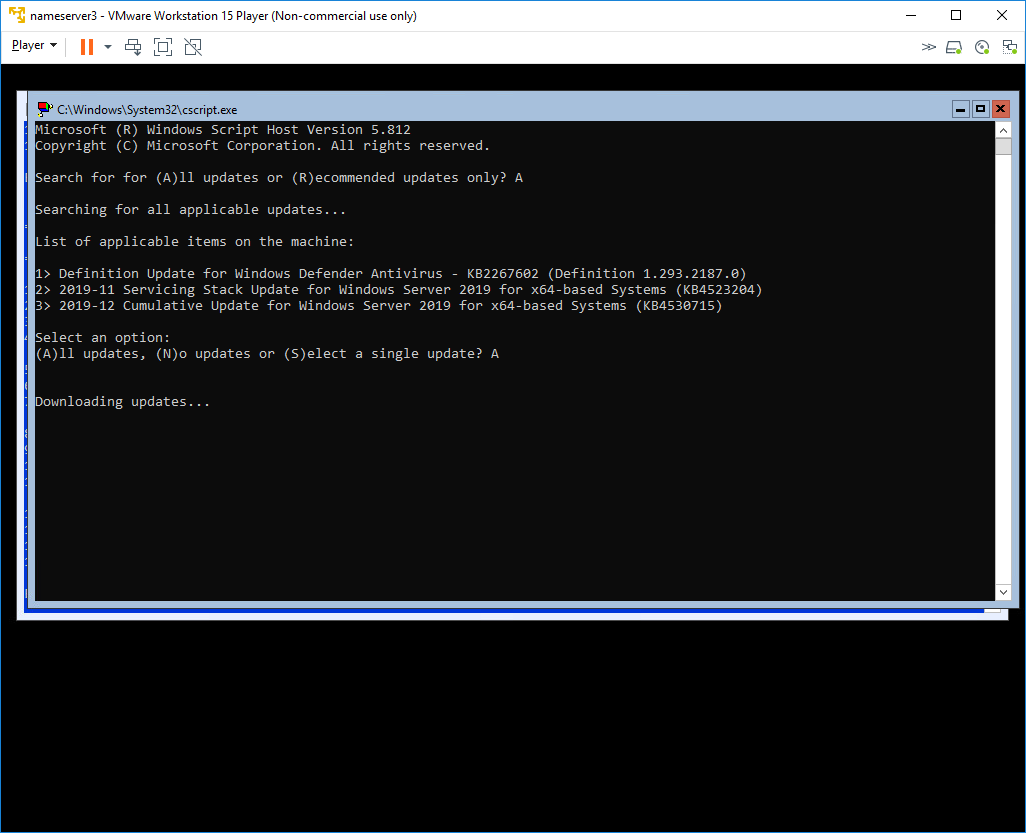
Once your updates server has been configured properly you can use option 6 under sconfig to check in and download/apply any updates as show above
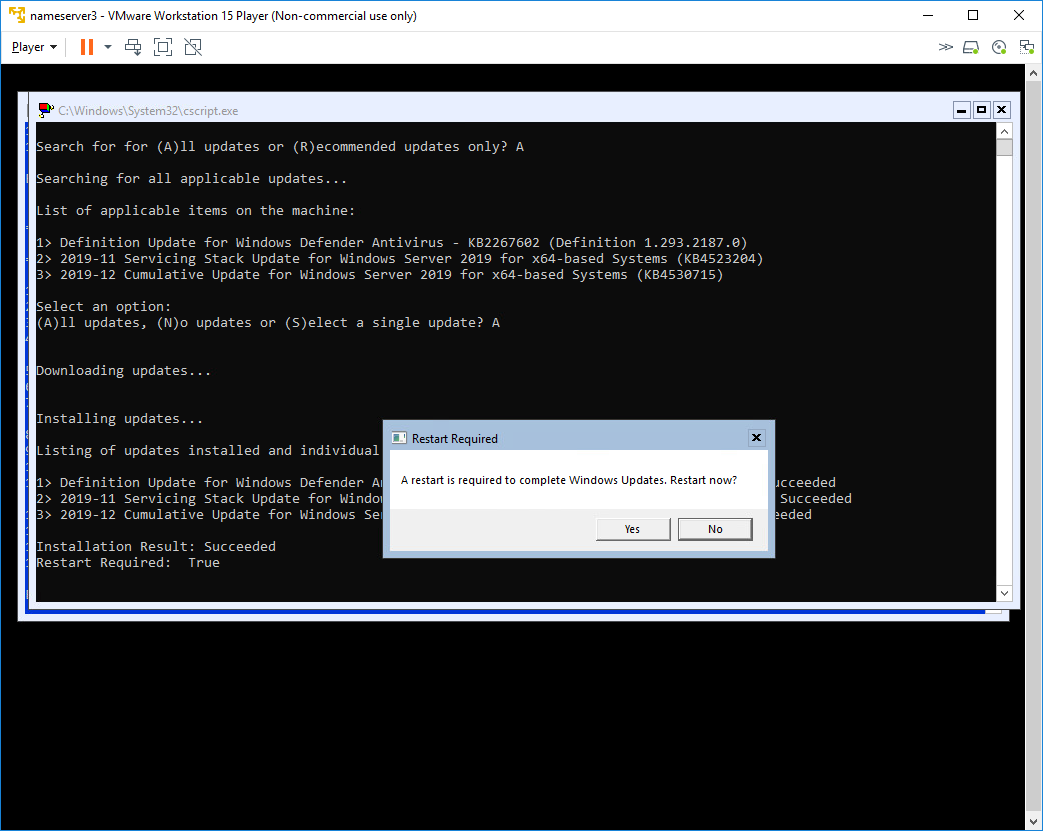
Once updates are applied the server may need a reboot as shown above. Just like a normal server this process may take several passes to properly apply all updates/patches.
#3. DNS role installation
From here there are a few different ways to install the DNS role. You can use PowerShell:
Install-WindowsFeature DNS
Since I added my local machine to each servers' remote management list I used "Server Manager" from my local PC. Depending on your choice of username and passwords you can enter them manually or use your local "Credential Manager" to store the usernames and passwords. The following will add the server connection details to your credential manager:
cmdkey /add:servername /user:username /pass:password
#4. DNS role configuration
There are a few different ways to configure the newly installed DNS role, there are lots of great write ups on how to do that. I would reccomend starting with disabling recursion, enabling rate limiting and limiting zone transfers to only the two secondaries.
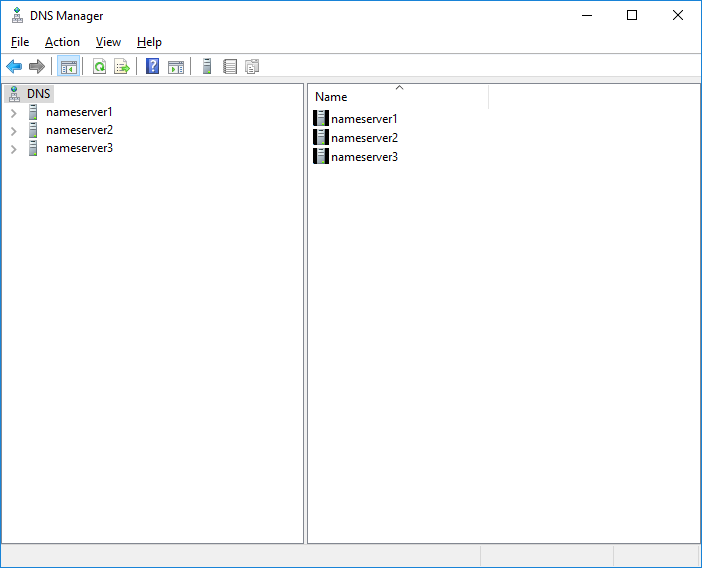
Once the role is installed you can use your normal DNS management tool
You can recreate the zones from scratch (fine if you have a small zone or doing this in a lab). You can also join your new "primary" DNS server as a secondary to an existing zone, copy the zone as secondary, then disconnect the zone and promote it to a primary zone. Be sure to copy ALL zones, do not forget your reverse lookup zone if you want email to work!!